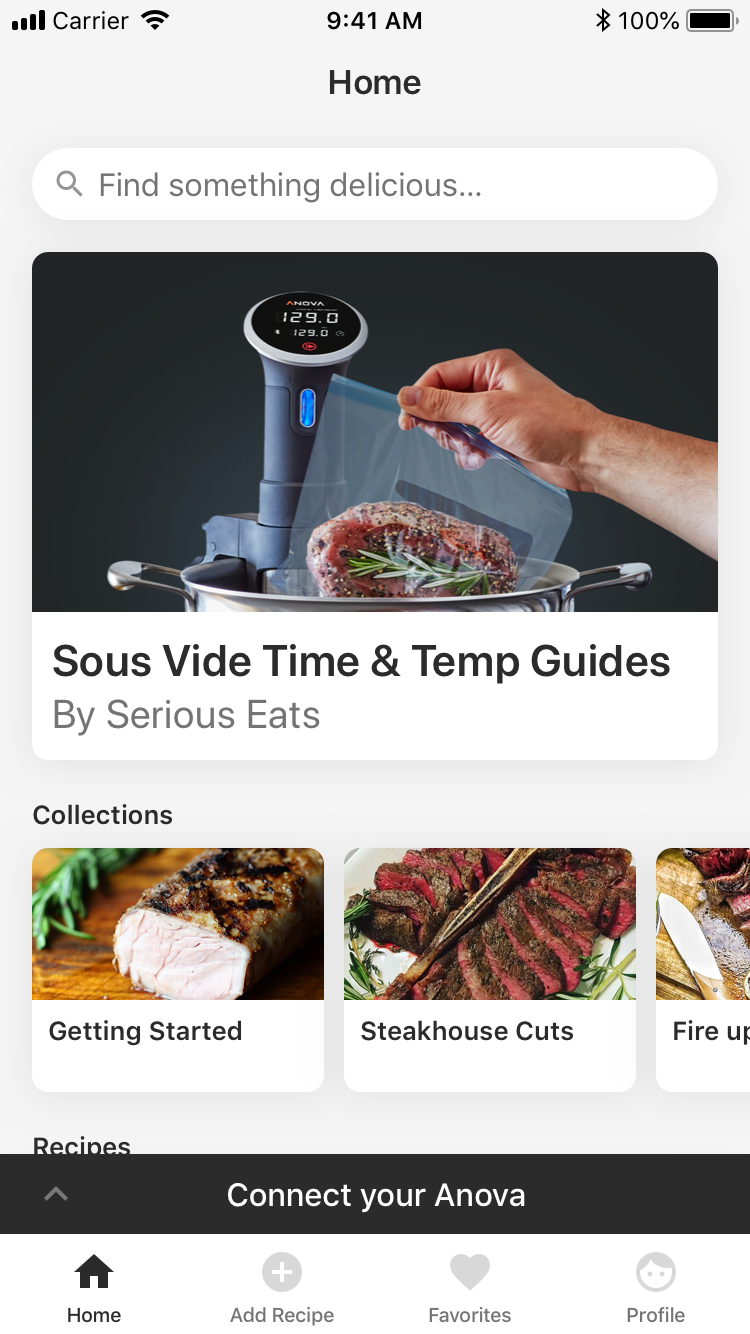
Connecting to the Anova app is relatively straightforward; however, before you get started, 1. ensure that your WI-FI network has met all of the minimum requirements listed here and 2. ensure that you're signed in with your Anova account. Afterwards, follow these simple steps to get set up and you’ll be cookin' in no time:
STEP 1
Make sure Bluetooth and WI-FI are enabled on your phone and that your phone is connected to the WI-FI network you want your cooker connected to.
STEP 2
Launch the app on your phone tap 'Connect your Anova' towards the bottom of your screen.
STEP 3
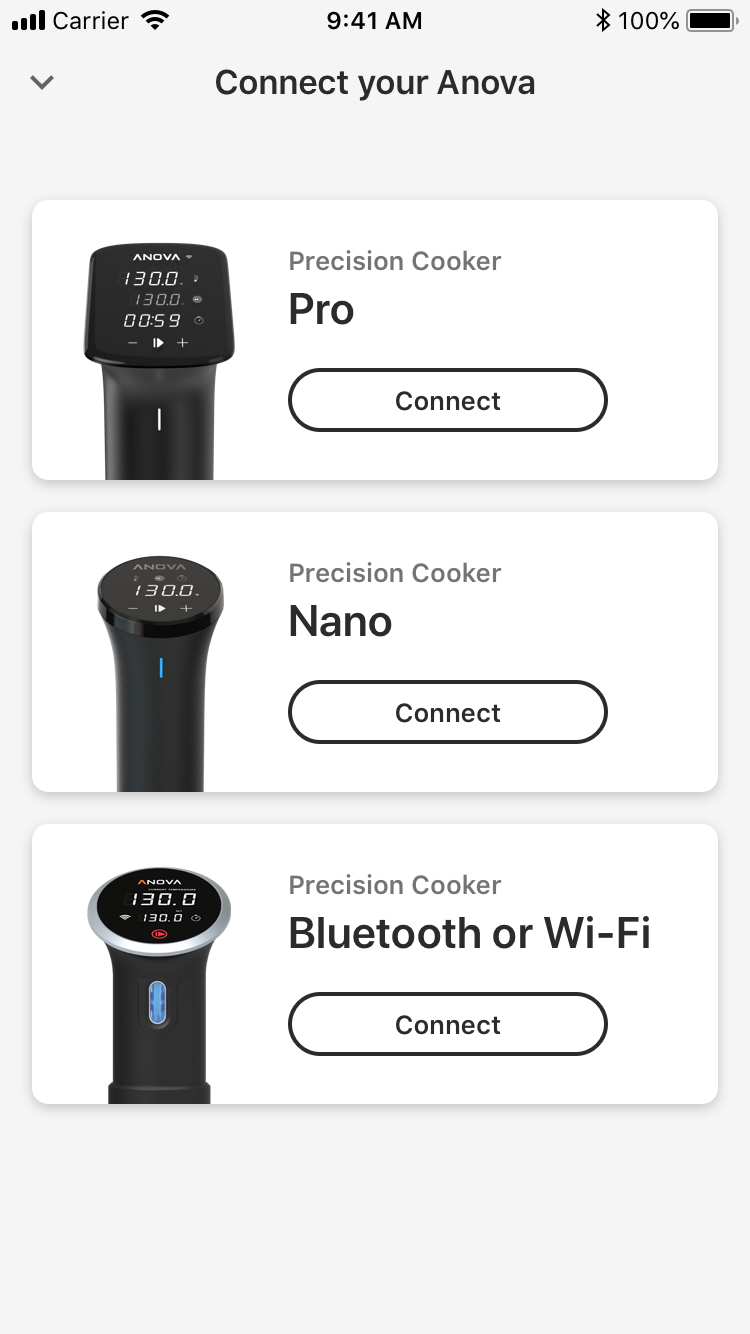
Tap 'Select' next to the cooker model you want to connect to the app.
STEP 4
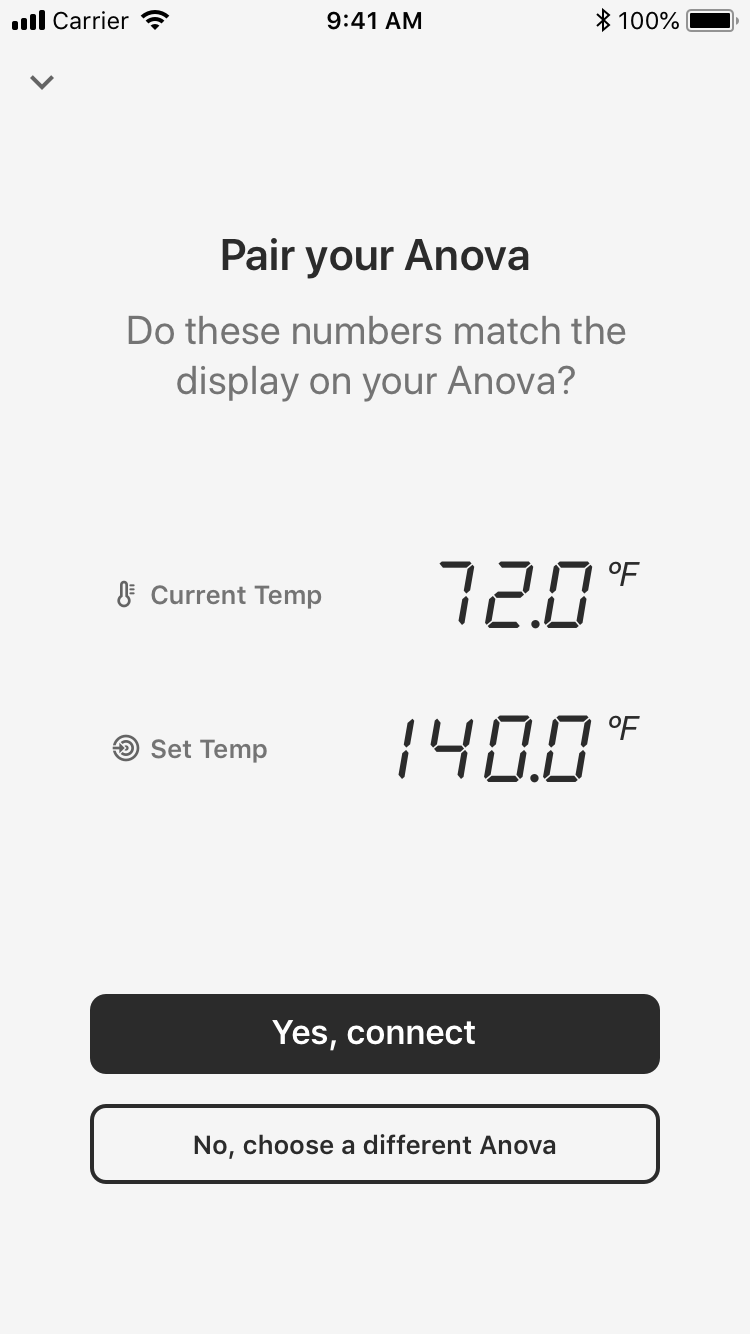
Ensure that the information displayed on the app matches what's displayed on your cooker. If so, tap 'Yes, connect.'
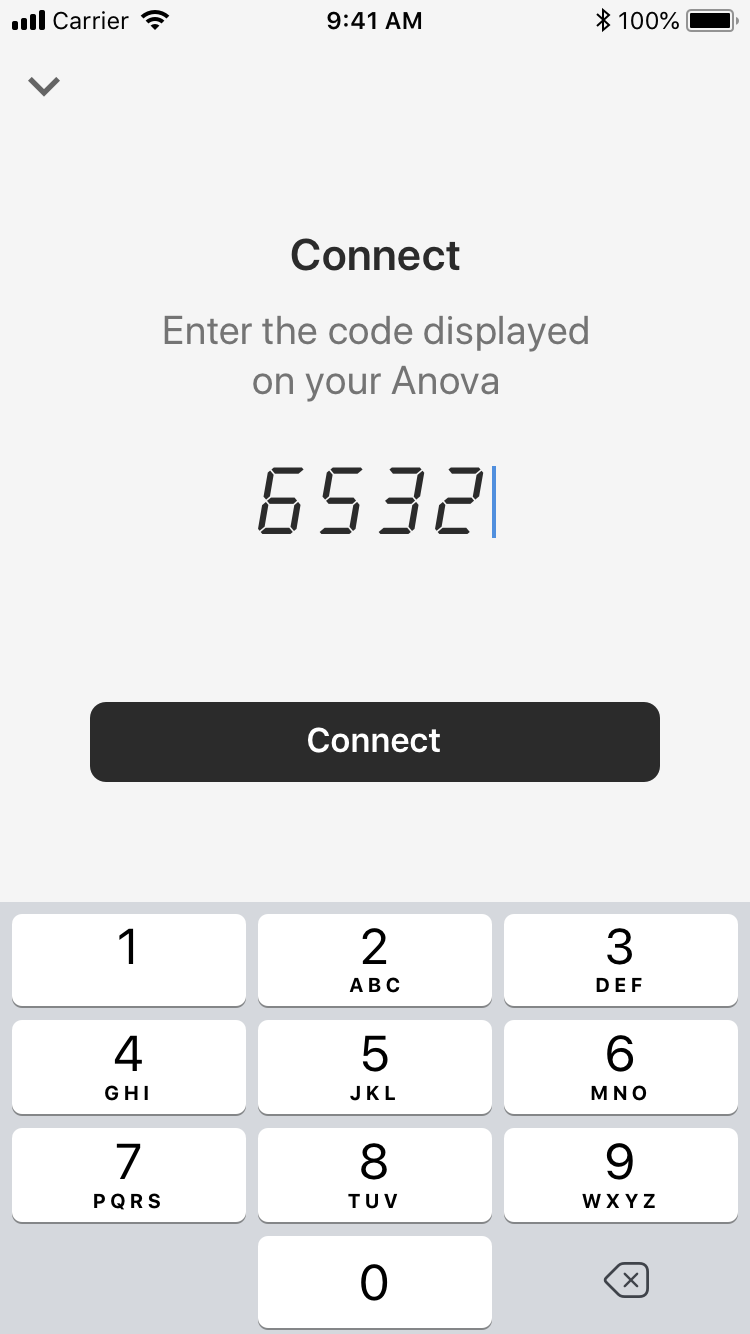
For Anova Precision® Cooker Nano and Anova Precision® Cooker Pro you'll need to press and hold the Target Temp button  for 3 seconds. Afterwards, a 4 digit code will be displayed on the display of your cooker. Type the code displayed into the app and tap 'Connect.'
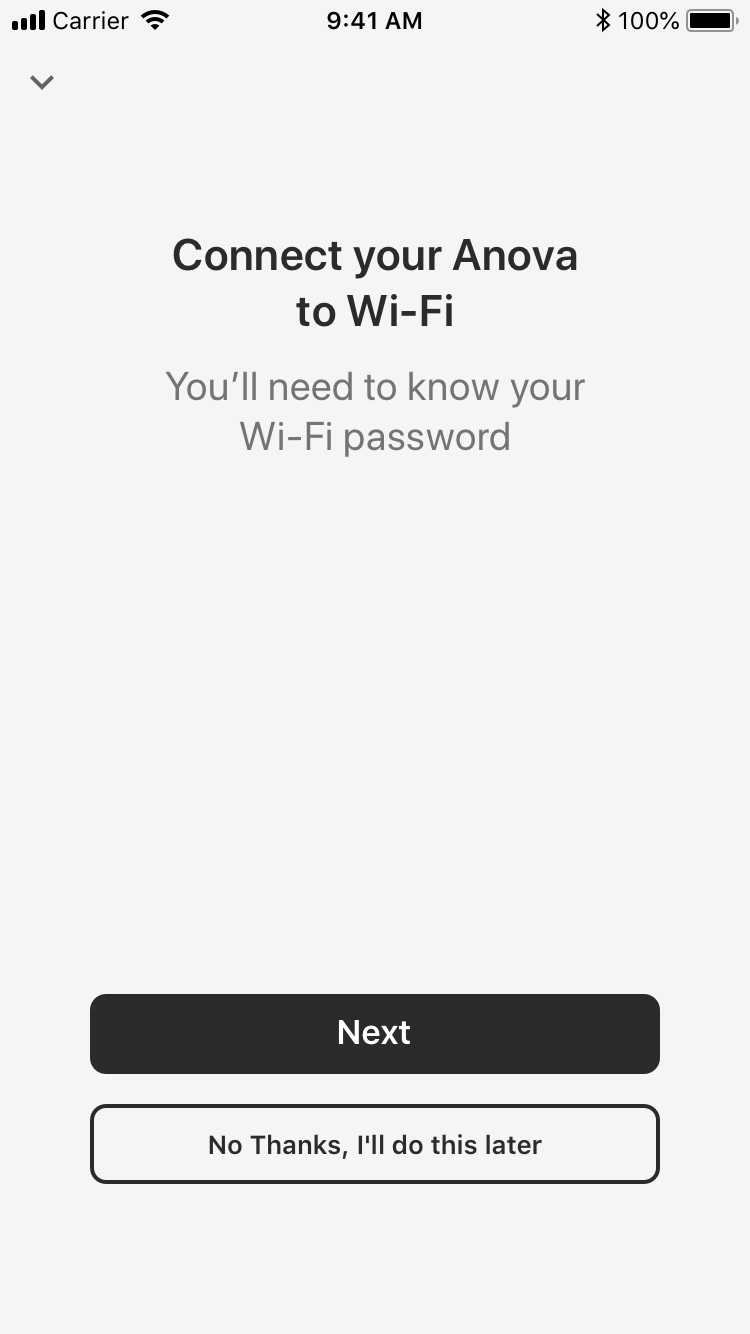
STEP 5
Your cooker is now connected via bluetooth. To connect via WI-FI, tap 'Next.'
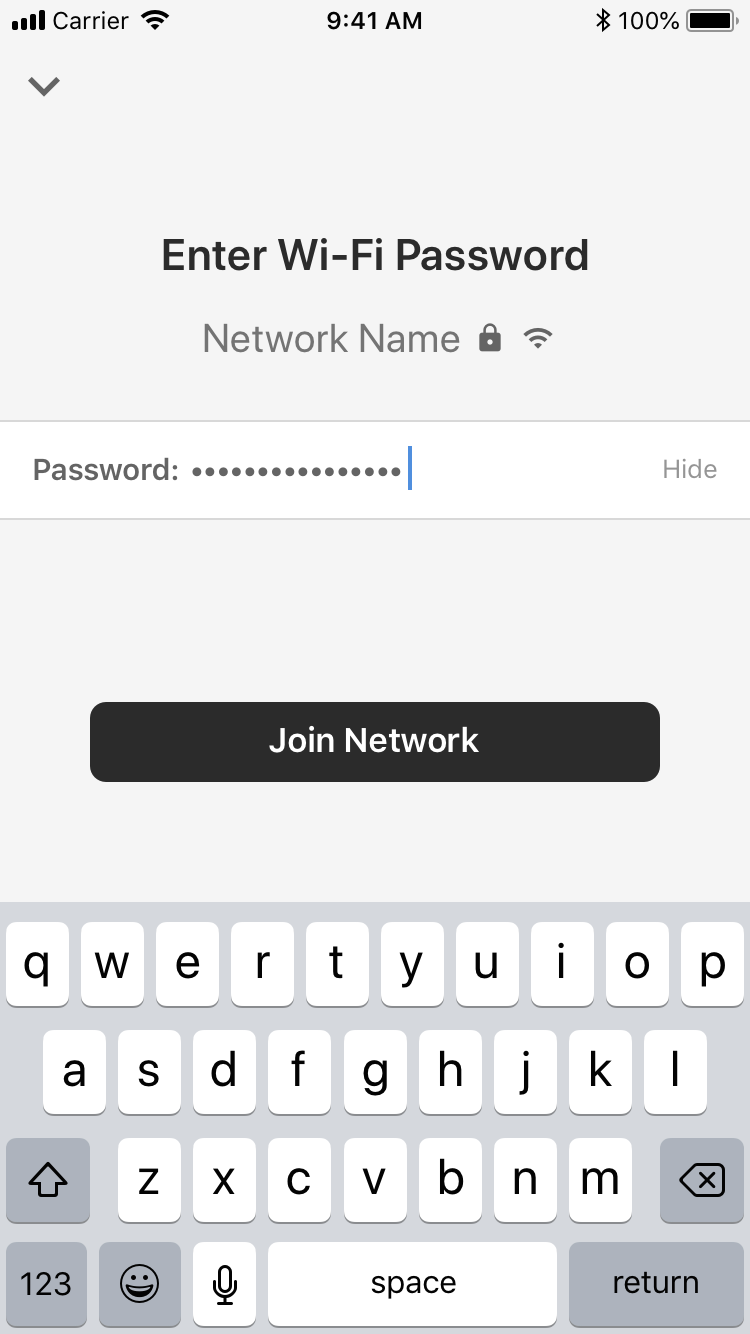
STEP 6
Ensure that the WI-FI network you want to connect to is displayed on the screen. If so, type in the password associated with the WI-FI network and then tap 'Join Network.'
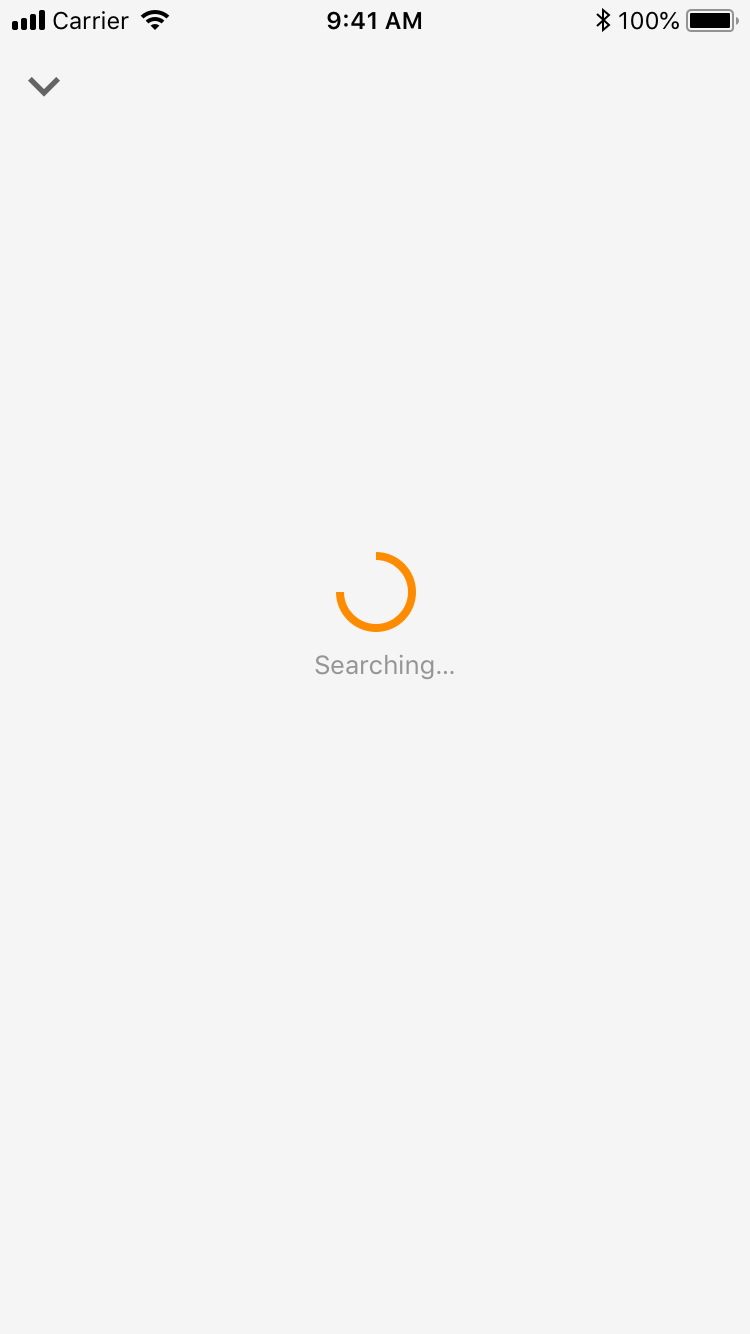
STEP 7
Your cooker will begin the connection process and you'll see the screen below.
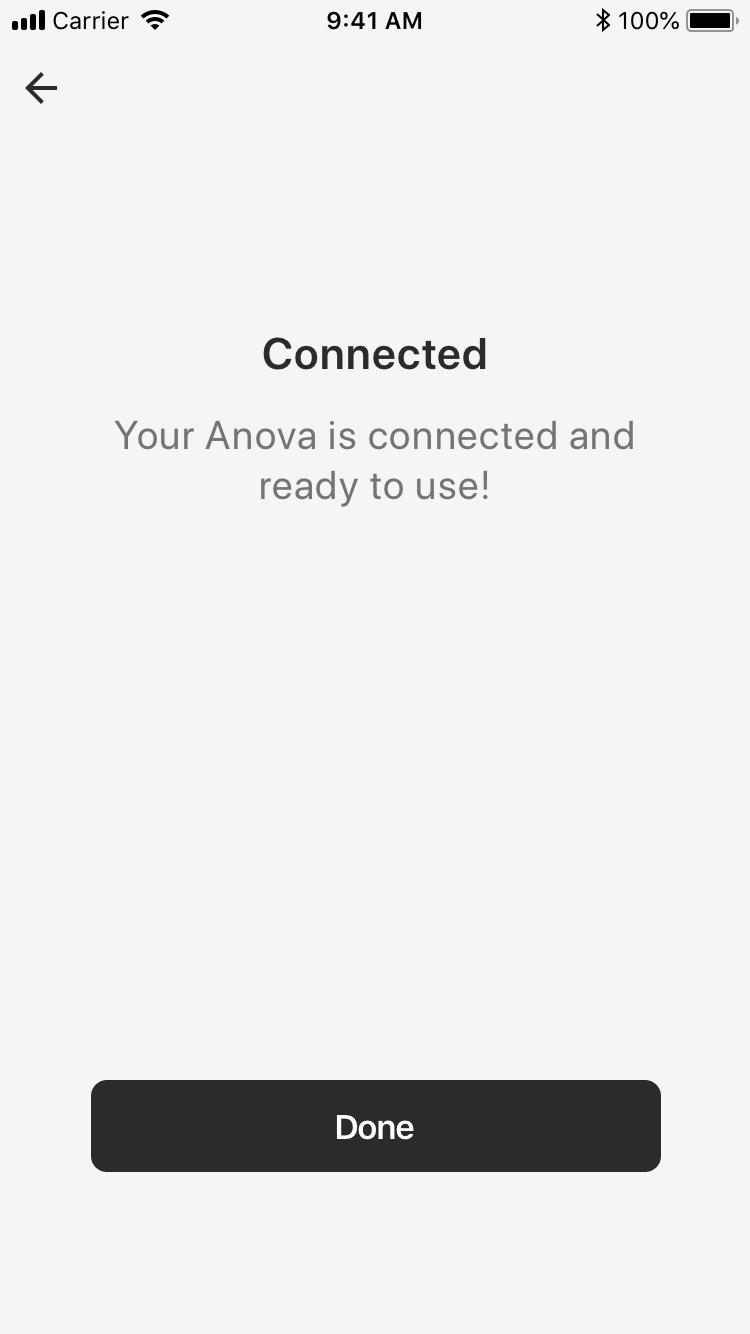
STEP 8
After a few moments, your cooker will be connected to your WI-FI network and you'll receive the following confirmation. Tap 'Done' to head back to the Home screen and get cookin'!
Comments